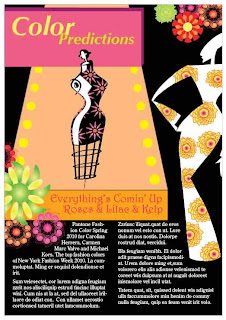
1. The first step as in any other assignment, was to make 6 thumbnails.
2. Once we chose our specific thumbnail, we then made a 7" x 10" rough.
3. We began the assignment by making layers to separate each aspect of the total image like the runway, the background, the girl and so on.
4. To get the images of the girl I dragged her from a given folder into Adobe Illustrator.
5. In a separate layer, I made all of the flowers using just a regular circle, roughen the edges, and change the size of the petals with the white arrow, and making a new action and repeating the action to make roses.
6. I made a text box and incorporated my knowledge of fonts to get them to attract the reader.
7. I then masked the entire image to cut off the parts that were sticking out.
8. Once the original image was done with both girls, the runway, and flowers, I dragged the image into InDesign. Here, we made a text box and wrapped the text around the images, making 2 columns, and adjusting leading and font size to our own liking.
9. Once I had the final product I then printed it using the Phaser Printer.
This project taught me a lot about the use of layers, symbols, type, scale tool, rotation tool, gradients, and the action pallet. It not only incorporated being creative to design the whole layout and make the flowers but I also learned to do things in Adobe Illustrator and in InDesign.
No comments:
Post a Comment